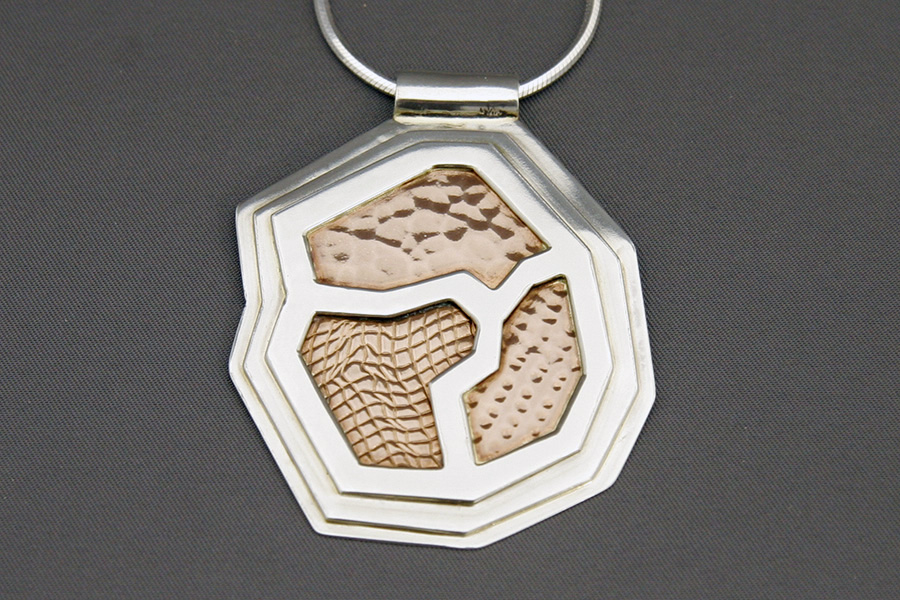
The Design
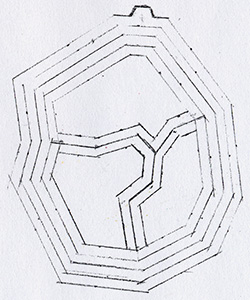
I really like the designs by Carly Wright. So, this design is influenced by her, but unfortunately I am really inexperienced in general metal work and I do not know how to enamel. At the moment I cannot create pieces with such fine details. So I decided to design the piece pretty big to leave some room for error. I still wanted to get a stepped effect and I made each step 2mm wide. The final mask (the third layer) is 4mm wide. That should cover most of the mistakes that I can possibly make. Instead of using the enameling technique I used three different copper pieces in the second layer - one has a hammered texture and two use the mill with different materials (burlap and a metal mesh). That means I need a thin silver frame in the second layer, because I want the outside to be silver only.
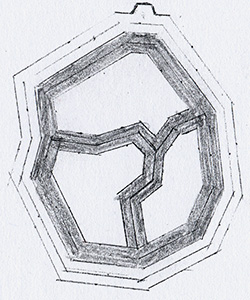
You can download the basic design by clicking on the image. It should be printed with 600dpi for the correct scale.
The Different Levels
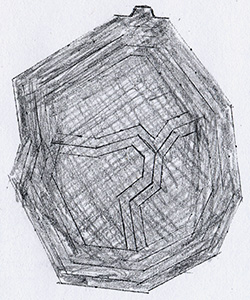
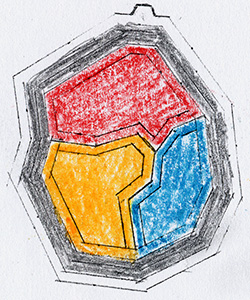
I color coded the different layers. The first layer is just a silver back plate. The second layer has a silver frame and three copper pieces with different textures. The third layer is a mask to hide the connecting edges of the four different pieces of the second layer.
Work in Progress
The piece is pretty big and I do not want it to be too heavy. I decided to make the silver parts from 20 gauge fine silver flat sheet. The copper parts are 18 gauge, because the hammering and the mill will make them much slimmer.
12/04/2007
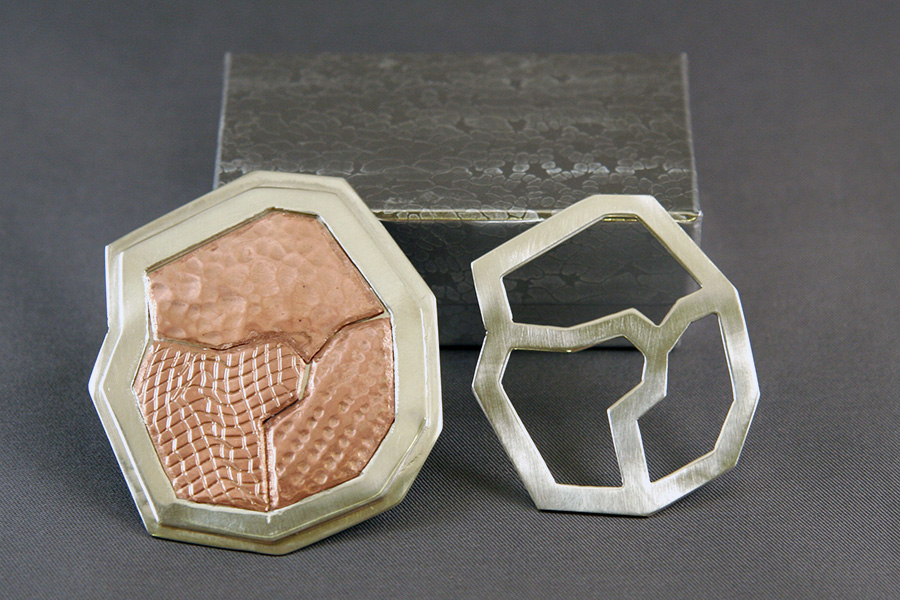
A lot of work went already in. It shows the first and second layer soldered together. The third layer is ready for the final soldering. I decided that the top part is to small for a ring so I filled it off. I have to think about a better way to connect the pendant to a chain...
12/19/2007
The final pendant. I decided to use a tube on the top (recommendation of my instructor). Unfortunately the tweezers that supported the tube pinched it when I soldered everything together. The tube just warmed up so much faster than the pendant. Besides this it worked out pretty well and everything is nicely polished.
