Ruler
Inspiration
Inspired by Adam Savage’s ruler tattoo — a highly practical 6-inch ruler on his left forearm with precise markings for both inches and centimeters — I set out to design my own version. I wanted something more minimalistic, focused purely on measurement. Baselines and the straight edge of a ruler serve drawing as much as measuring, and that function doesn’t translate well to skin. I also preferred fewer subdivisions: tattoo lines have physical limits, and there’s an intentional contrast between the organic, imprecise nature of skin and the rigidity of an engineering tool. The designs below trace that progression from a full traditional ruler to a minimal set of tick marks. I settled on metric (1cm / 5mm marks) on the left and imperial (1″ / ½″ / ¼″ marks) on the right. I also used Claude Code to quickly visualize different variations — it made iterating on the designs remarkably fast.
Design Revisions
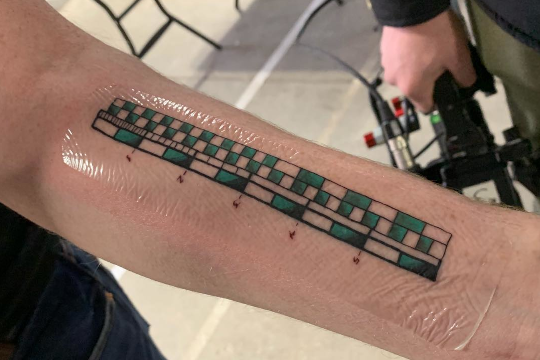
Starting point: traditional ruler form with vertical baselines on both sides and tick marks, but no numbers.
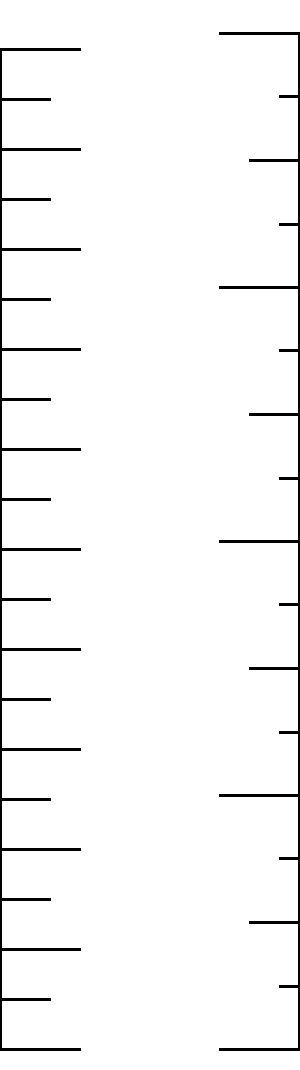
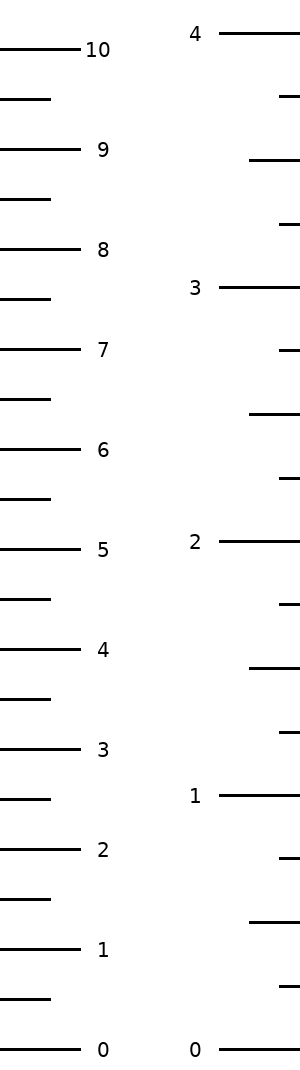
Labels added — the most complete design. Cm 0–10 on the left, inches 0–4 on the right.
Baselines removed. The straight-edge function of a ruler is a drawing aid, not a measurement one — it doesn’t belong on a tattoo.
Numbers added back without baselines. Ticks edge-aligned to each side.
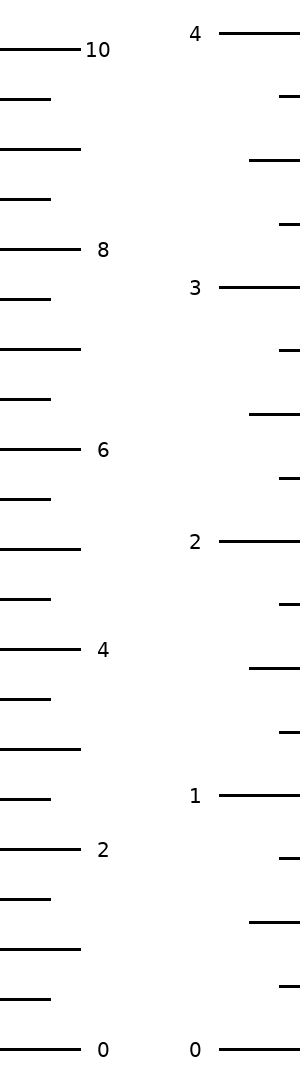
Reduced to even cm labels only (0, 2, 4, 6, 8, 10) — fewer numbers, less visual noise.
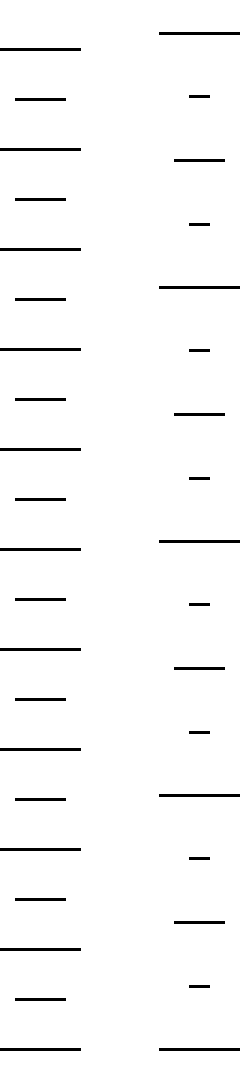
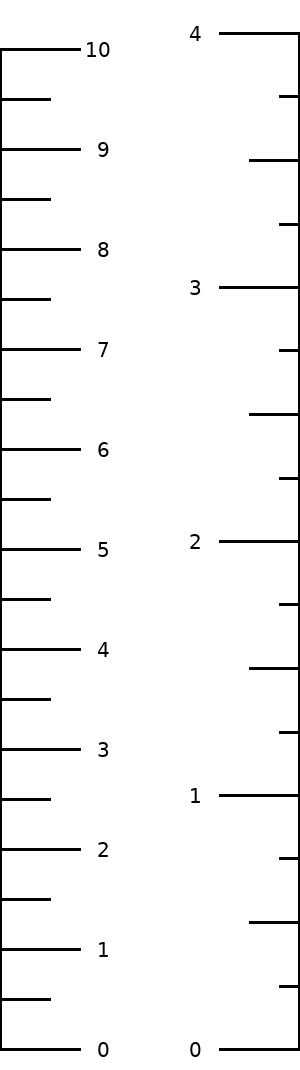
No baselines, no numbers. Subdivision ticks shifted inward, centered on the major ticks rather than edge-aligned.
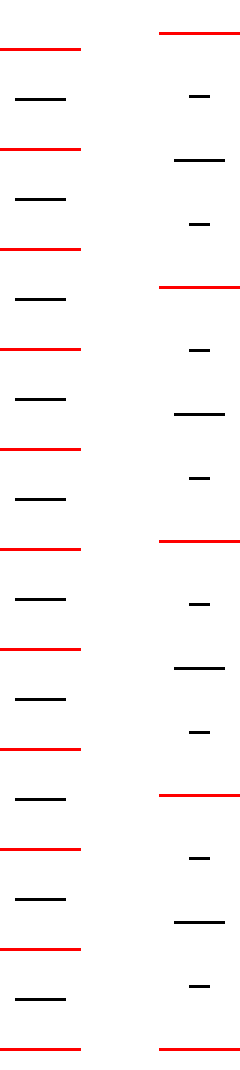
Major ticks in red to visually separate the measurement scale from the subdivisions. Width narrowed to three times the major tick length, dividing the space into three equal regions: left tick, white space, right tick.
Python Source
from PIL import Image, ImageDraw, ImageFont

width  = 300   # 30mm @ 254 DPI
height = 1070  # 4 inches @ 254 DPI + padding top and bottom for labels
dpi    = (254, 254)

bottom = height - 1 - 20  # 20px bottom padding for "0" label
right  = width - 1

font = ImageFont.truetype('/usr/share/fonts/truetype/dejavu/DejaVuSans.ttf', 20)

def draw_ticks(draw, centered=False, major_color='black'):
    if centered:
        # center of 1cm tick is x=40; center of 1" tick is right-40
        cm_5mm  = (15, 65)
        in_025  = (right - 50, right - 30)
        in_05   = (right - 65, right - 15)
    else:
        cm_5mm  = (0, 50)
        in_025  = (right - 20, right)
        in_05   = (right - 50, right)
    for i in range(0, 21):
        y = bottom - i * 50
        draw.line([(cm_5mm[0], y), (cm_5mm[1], y)], fill='black', width=3)
    for i in range(0, 11):
        y = bottom - i * 100
        draw.line([(0, y), (80, y)], fill=major_color, width=3)
    for i in range(0, 17):
        y = round(bottom - i * 254 / 4)
        draw.line([(in_025[0], y), (in_025[1], y)], fill='black', width=3)
    for i in range(0, 9):
        y = bottom - i * 127
        draw.line([(in_05[0], y), (in_05[1], y)], fill='black', width=3)
    for i in range(0, 5):
        y = bottom - i * 254
        draw.line([(right - 80, y), (right, y)], fill=major_color, width=3)

def draw_baselines(draw):
    draw.line([(0, bottom - 1000), (0, bottom)], fill='black', width=3)
    draw.line([(right, bottom - 4 * 254), (right, bottom)], fill='black', width=3)

def draw_numbers(draw, cm_step=1):
    ref_w = font.getbbox('10')[2] - font.getbbox('10')[0]
    for i in range(0, 11, cm_step):
        y = bottom - i * 100
        label = str(i)
        bbox = font.getbbox(label)
        text_w = bbox[2] - bbox[0]
        text_h = bbox[3] - bbox[1]
        draw.text((85 + ref_w - text_w, y - bbox[1] - text_h // 2), label, fill='black', font=font)
    digit_w = font.getbbox('1')[2] - font.getbbox('1')[0]
    extra = ref_w - digit_w
    for i in range(0, 5):
        y = bottom - i * 254
        label = str(i)
        bbox = font.getbbox(label)
        text_w = bbox[2] - bbox[0]
        text_h = bbox[3] - bbox[1]
        draw.text((right - 85 - text_w - extra, y - bbox[1] - text_h // 2), label, fill='black', font=font)

def make(filename, baselines, numbers, cm_step=1, centered=False, major_color='black'):
    img  = Image.new('RGB', (width, height), 'white')
    draw = ImageDraw.Draw(img)
    if baselines:
        draw_baselines(draw)
    draw_ticks(draw, centered=centered, major_color=major_color)
    if numbers:
        draw_numbers(draw, cm_step=cm_step)
    img.save(filename, dpi=dpi)

make('plain.png',  baselines=True,  numbers=False)
make('ruler.png',  baselines=True,  numbers=True)
make('plain2.png', baselines=False, numbers=False)
make('ruler2.png', baselines=False, numbers=True)
make('ruler3.png',  baselines=False, numbers=True,  cm_step=2)
make('simple.png',  baselines=False, numbers=False, centered=True)
# final: 240px wide (tick lengths unchanged)
width = 240
right = width - 1
make('final.png',   baselines=False, numbers=False, centered=True, major_color=(255, 0, 0))
width = 300
right = width - 1

print("Done")
Page Creation
The ruler designs were created with Claude Code using Python / Pillow. These were the most significant prompts in chronological order:
- Create a PNG ruler at 254 DPI, 25mm wide × 4 inches tall, with 1cm marks on the left every 1cm, origin at the bottom
- Add 5mm subdivision marks (50px long) every 5mm
- Shorten the 1cm marks to 75px
- Add 1″ marks on the right side (75px), with a vertical baseline; make image 1px taller to show the 4″ mark
- Add ½″ marks (50px) and ¼″ marks (25px) on the right
- Draw the 0 line across the full width
- Add cm numbers 1–10 on the left (right-aligned to “10”) and inch numbers 1–4 on the right
- Align single-digit inch numbers the same distance from their ticks as the cm numbers
- Widen image to 3cm (300px) — naturally shifts the inch side 50px right
- Create plain.png without numbers by saving before the text step
- Remove the bottom baseline; add “0” to both tick sets with bottom padding so it isn’t clipped
- Create ruler2 / plain2 variants without baselines; refactor into a
make()function with flags - Create ruler3.png with even cm labels only (0, 2, 4, 6, 8, 10)
- Create simple.png: no numbers, subdivision ticks center-aligned on the major ticks
- Make all lines 2px wide; resize major ticks to 80px, keep mid at 50px, shrink ¼″ to 20px
- Create final.png: like simple but major ticks in red, narrowed to 240px (tick lengths unchanged)