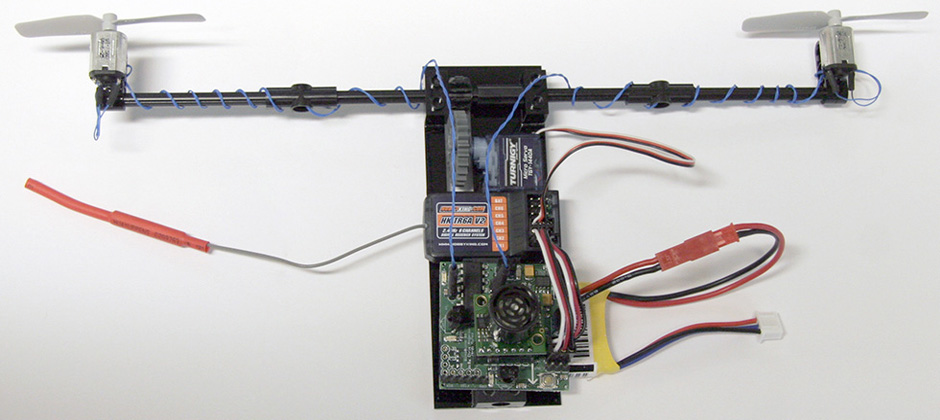
The BlimpDuino is a great way to get started with Unmanned Aerial Vehicle (UAV). It was designed by Chris Anderson and the home page is at DIY Drones.
It is not very difficult to find a helium tank. A disposable Balloon Time helium tank can be bought from different resellers, I got a 8.9ft³ helium-filled tank from Target for $20.
Hardware Assembly
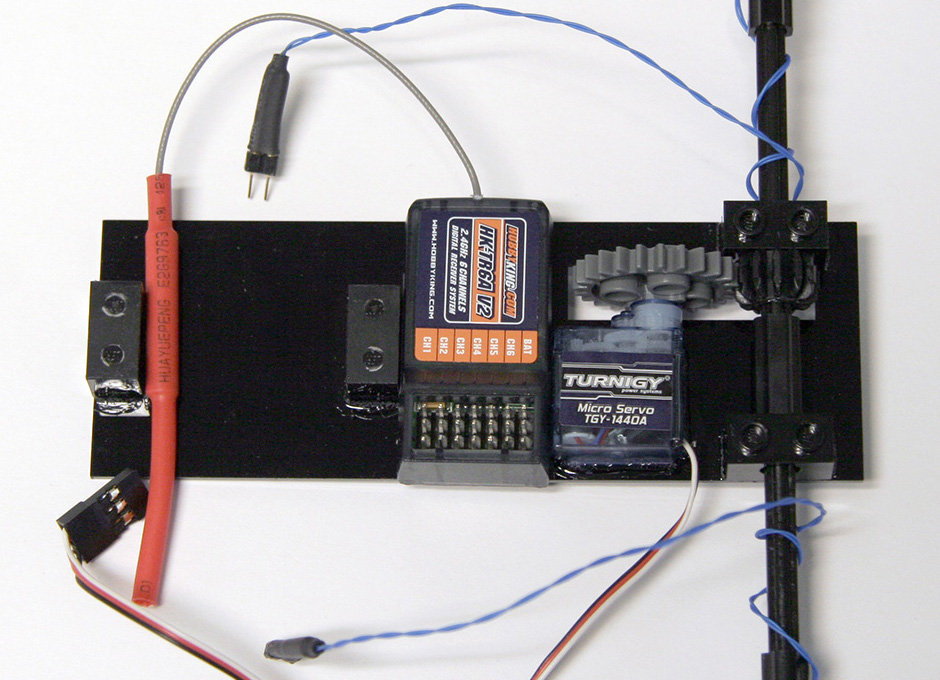
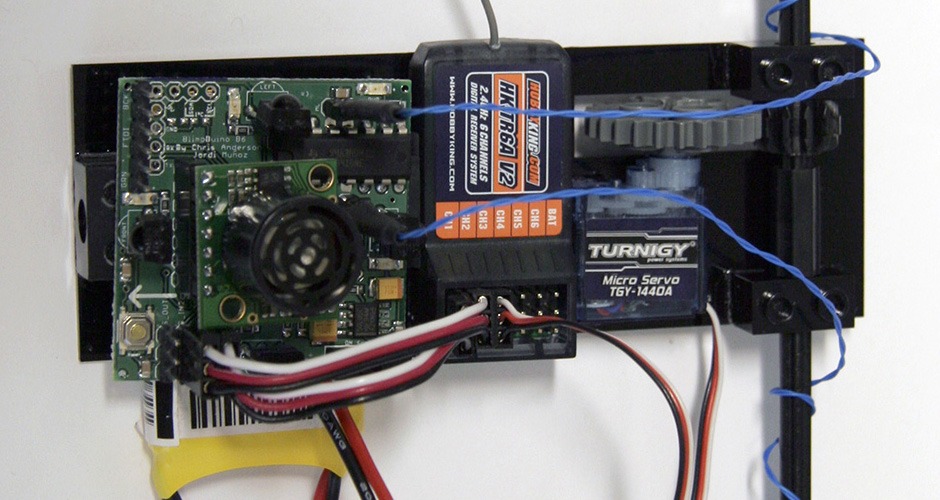
The instructions are pretty easy to follow. Anytime I glued something I waited for 24h to cure the bond before I continued working on this project. I also glued in the RC receiver, because for $24 I thought I can have a dedicated RC system. I had only a problem with the thin wires, which needed some patience. I think the 2-pin male machine pin headers and heat shrink tubing was a bad design decision. I would rather use 6 pin small screw terminal (with a 2.54mm pitch) and connect the battery / motor wires directly.


Programming
The latest Blimpduino code can be found at the code repository. Upload instructions are at the DIY Drones site. It is important to select the "Arduino Pro or Pro Mini (3.3V, 8 MHz) w/ ATmega168" board. Do not select the Atmega328, because it uses a higher upload speed and the upload will fail, if this one is selected.